
How to Replace a Sawmill Blade
By Wood-Mizer, Europe
Replacing the bandsaw blade is one of the key maintenance needs for every sawmill user. Following the advice below allows for a quick, safe, and correct blade installation:
1. Before you start replacing the blade, make sure you have turned off the machine with the main switch.
2. Slide the blade guide arm completely away from the machine.
3. Open the protective cover of the blade wheels, on which you're going to access the blade.
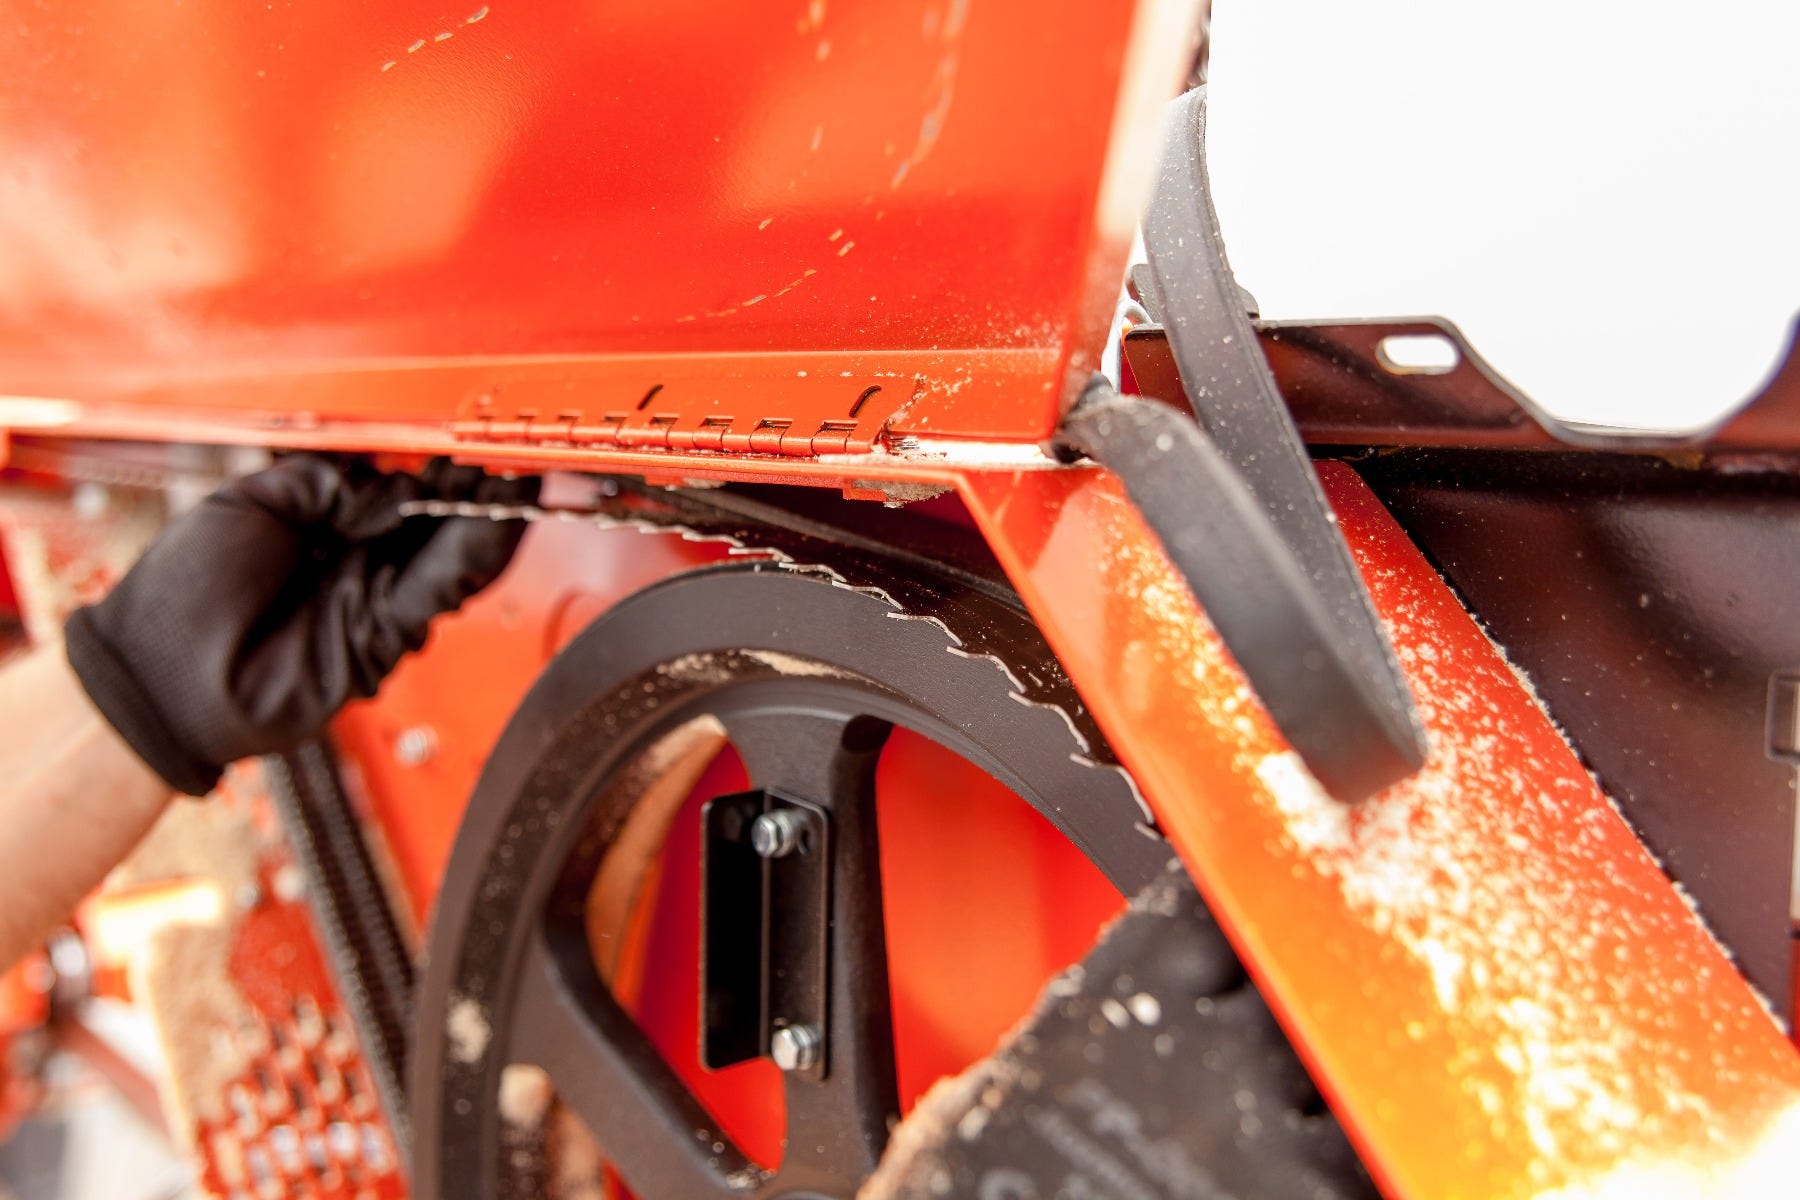
4. Release the blade tension by turning the tension bolt until the blade wheel moves back, allowing you to remove the blade.
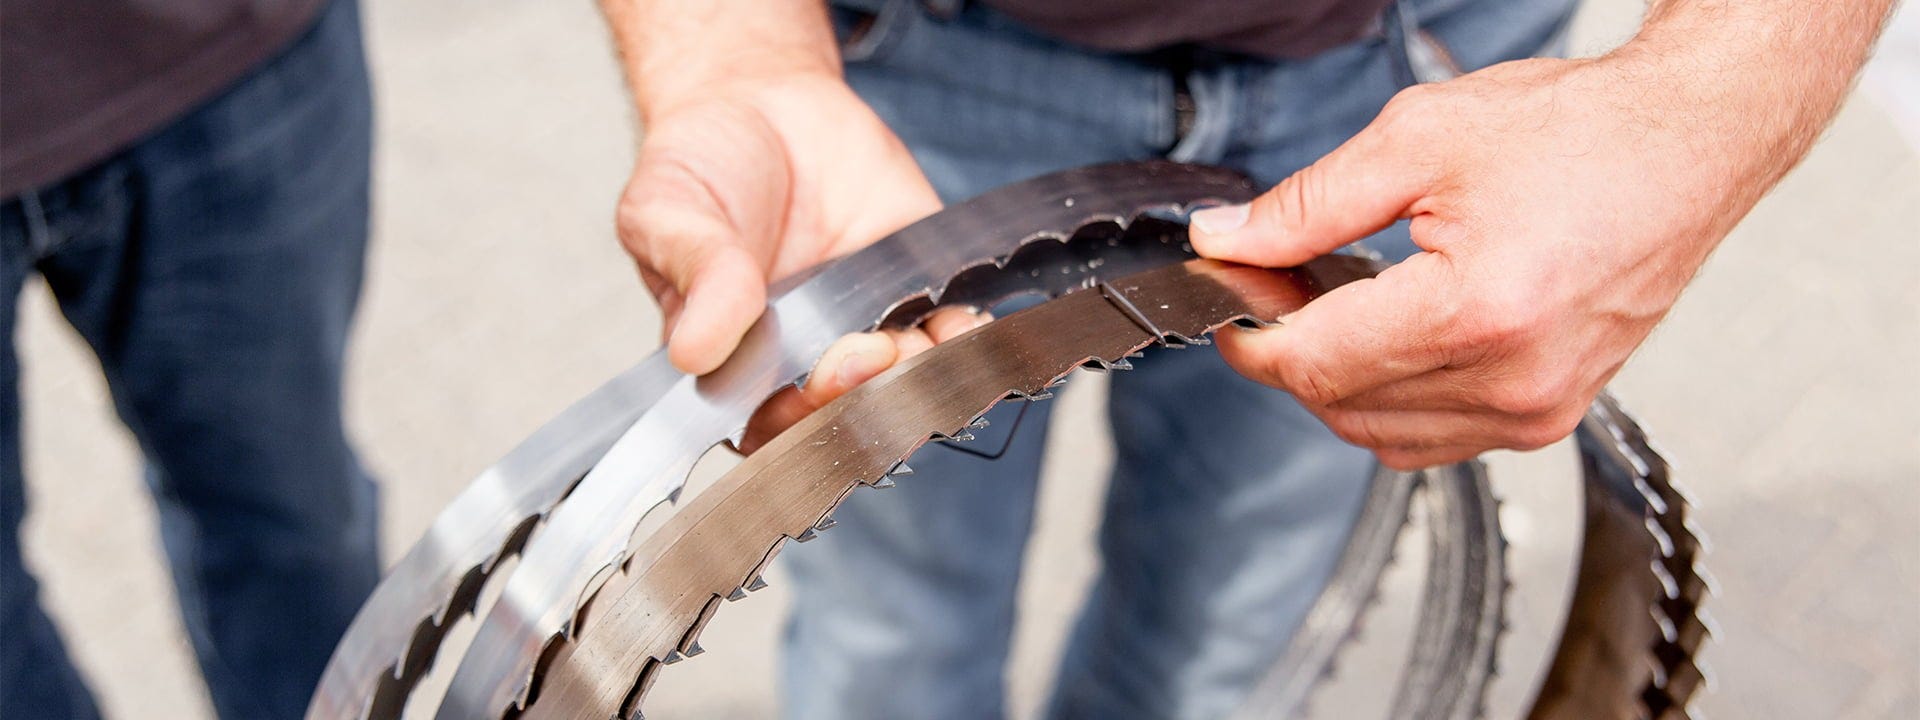
5. Remove the blade from the blade wheels and put on the new blade.
6. While installing the blade, make sure that the teeth of the cutting side are pointed in the direction of the sawdust exhaust path.
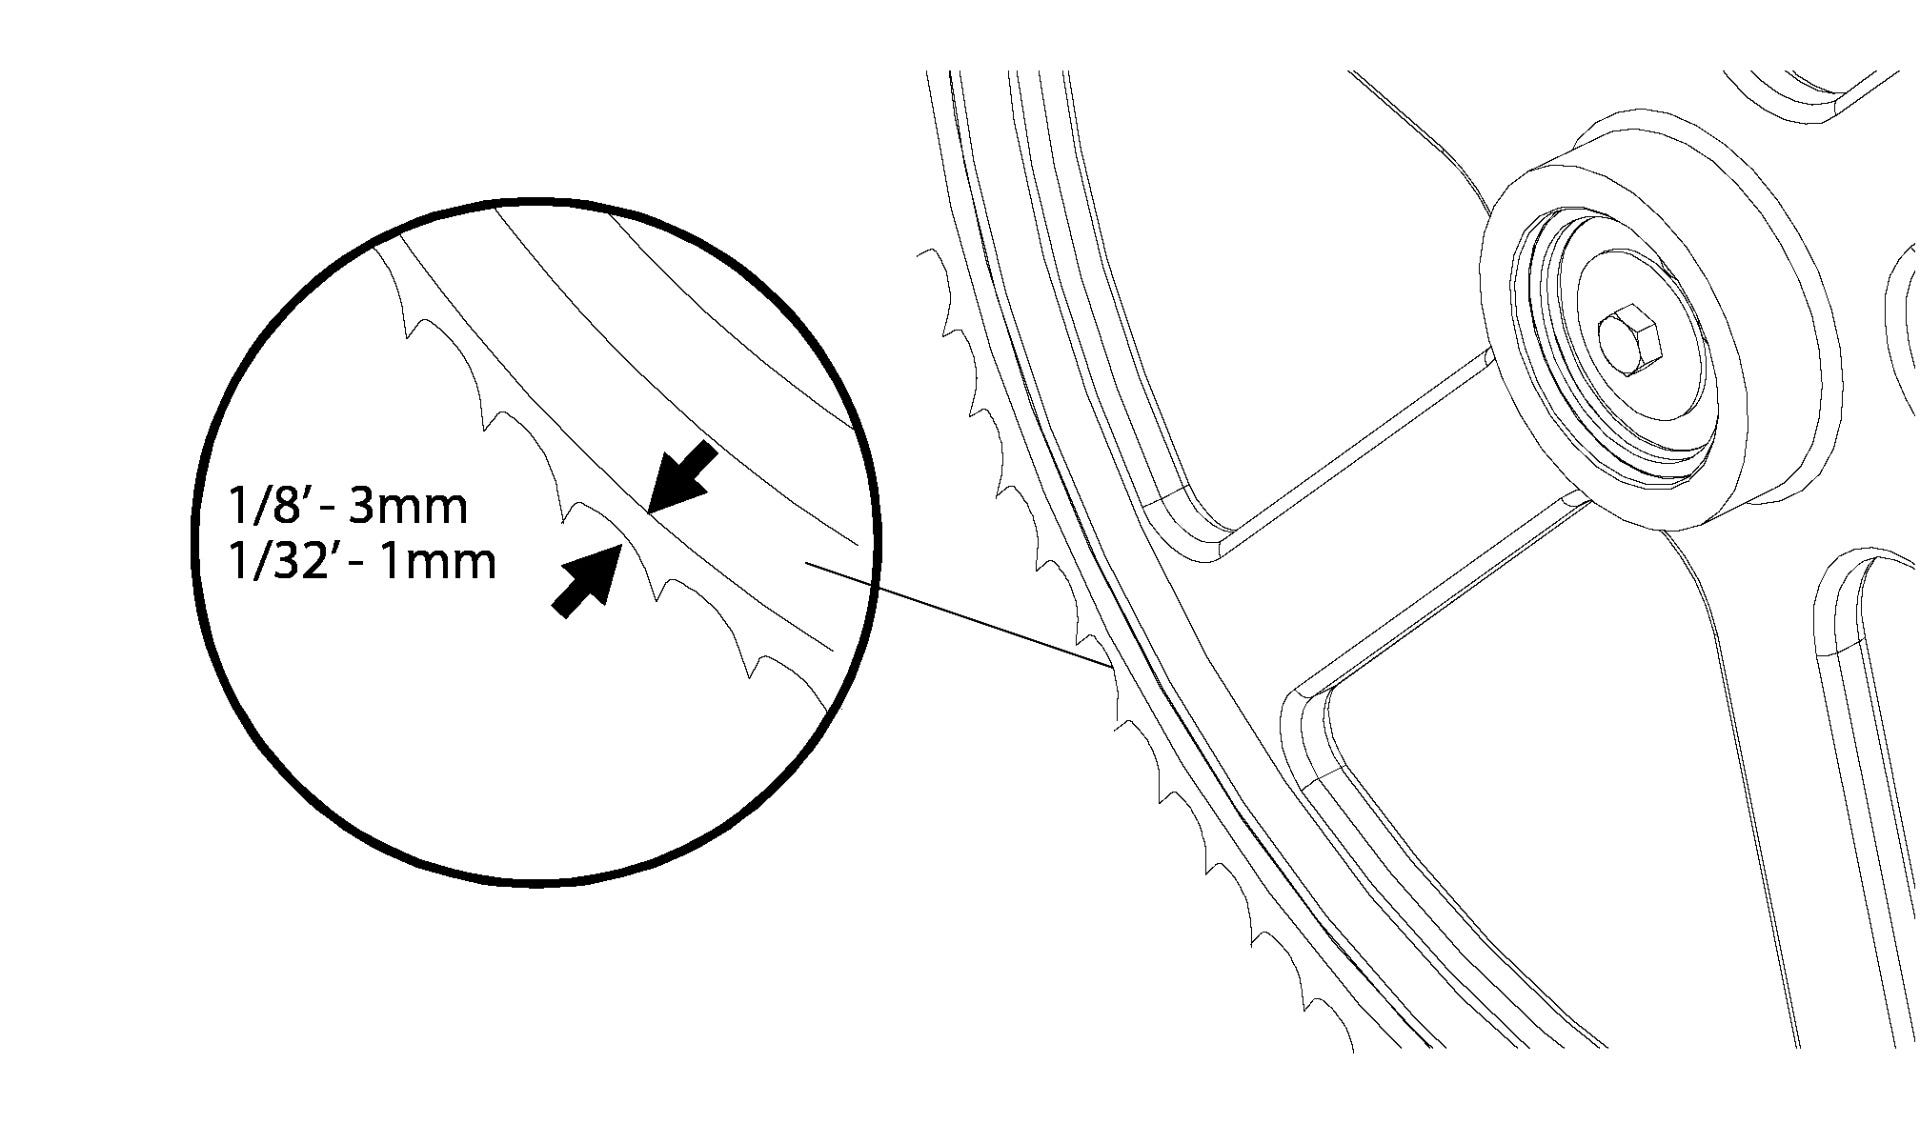
7. The 32 mm wide sawmill blade needs to be positioned on the wheels in such a way that the bottom of the gullets sticks out 3 mm off the front edge of the wheel. For the 38 mm wide blades, this gap should be 4-5 mm.
8. Close the protective cover of the blade wheels.
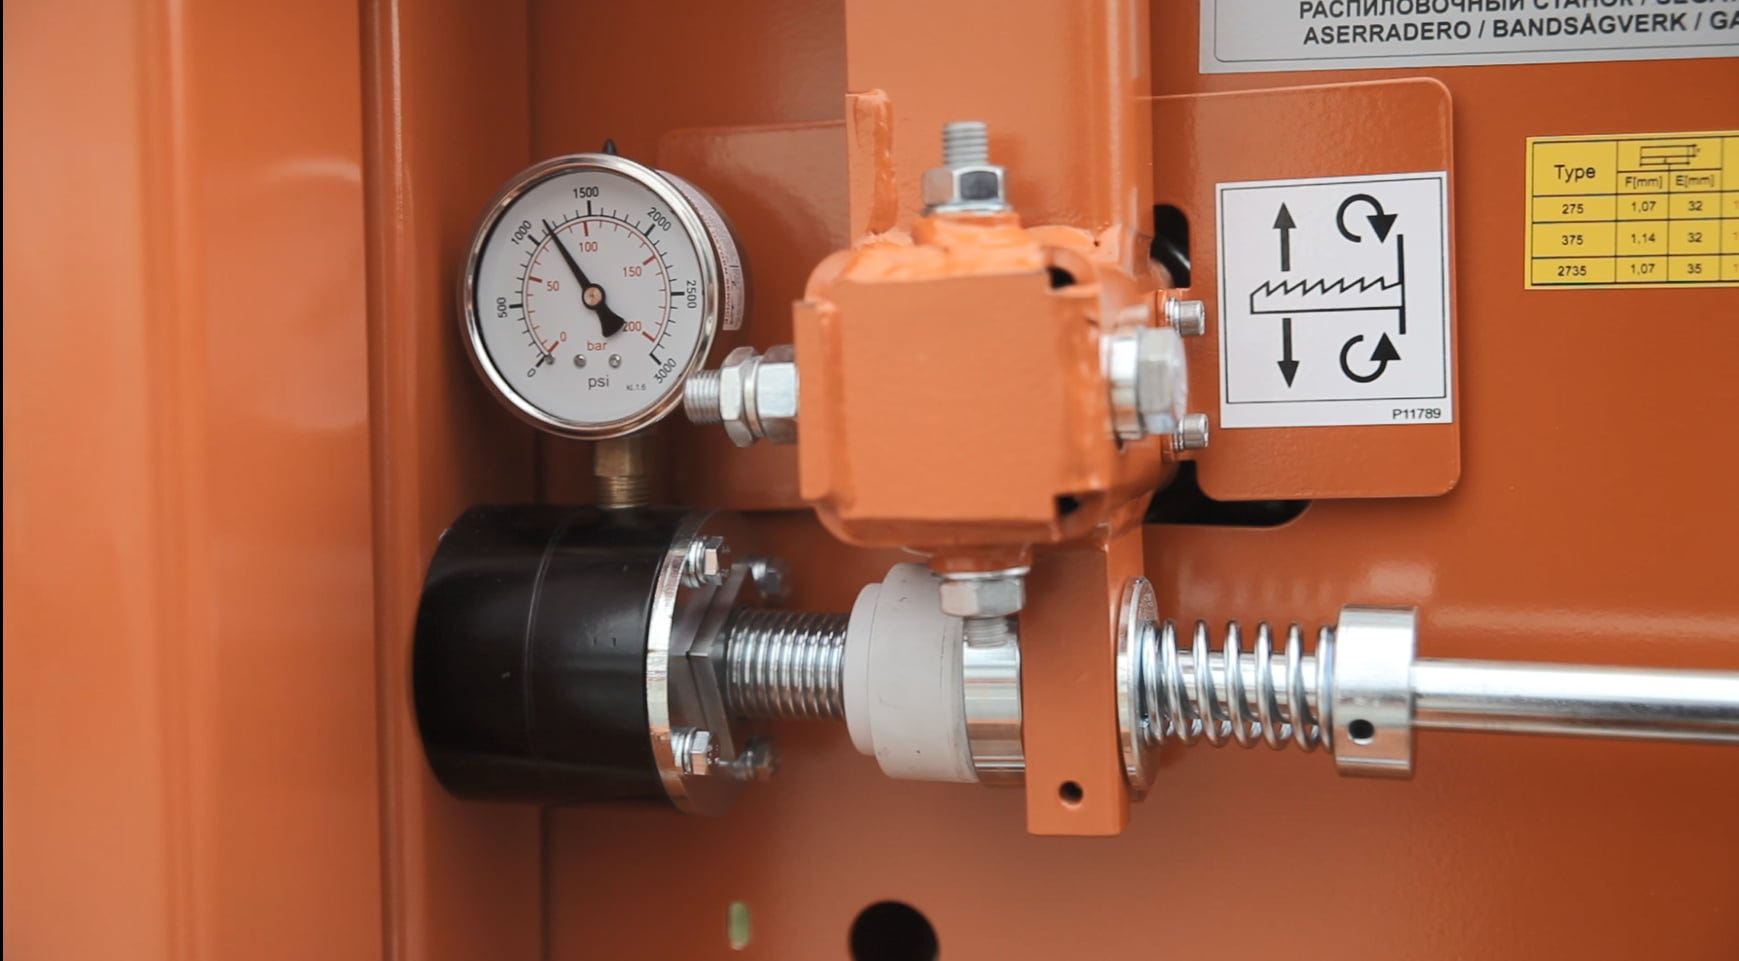
9. Adjust the blade tension. Observing the correct parameters of blade tension extends its lifetime. Recommended blade tension values can be found in the user manual and depend on the type of sawmill.
During sawing, remember that the working time of the blade generally shouldn't exceed 1,5 hours. After you finish working on your sawmill, make sure you release the blade tension.
Following the above advice helps you extend the sawmill blade lifetime and also increases the cutting precision.